

Vault Transform Engine: Format-Preserving Encryption for Sensitive Data on Nomad
In our previous post about HashiCorp Nomad and Vault: Dynamic Secrets we walked through the full lifecycle of secrets management for a Python Flask application

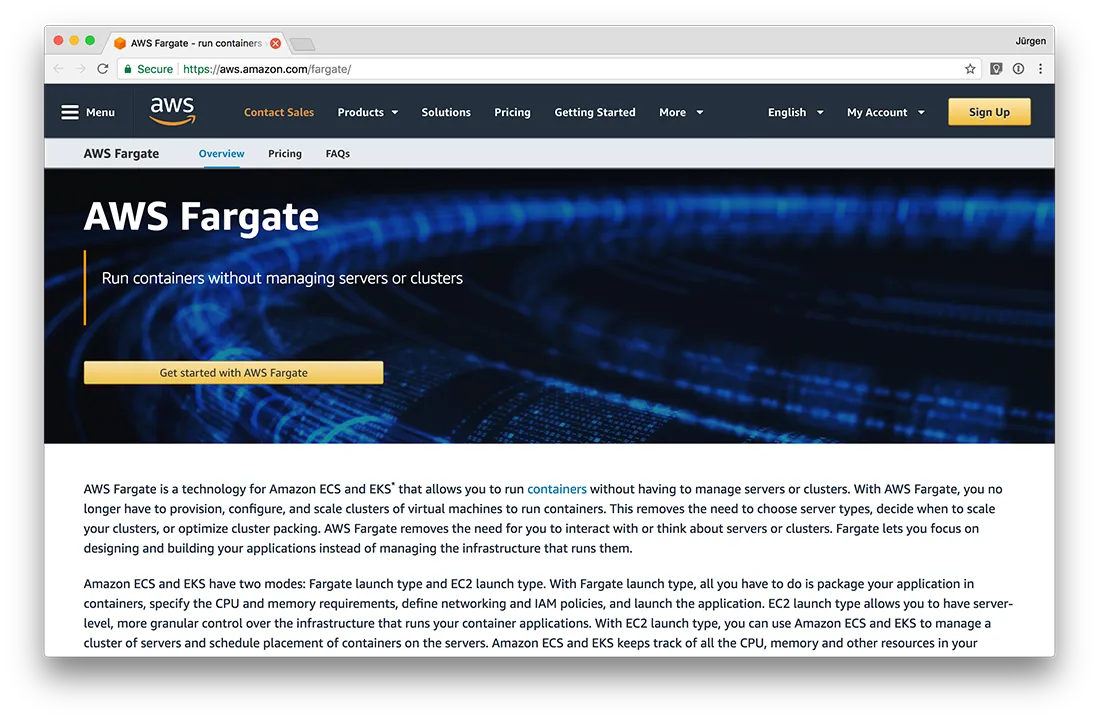
Fargate is the next incarnation of Amazon Elastic Container Service (ECS). With classic ECS you had to create dedicated instances to run your containers on. Fargate gives you the ability to use ECS without the need to manage servers or clusters.
No cluster provisioning is necessary, no worrying about server types or scaling. This is all abstracted with Fargate.
We were looking for a service to run inside Fargate to see what we can do with it. A customer wanted to run a Sonarqube installation inside a container. So, we thought: Hey, that fits!
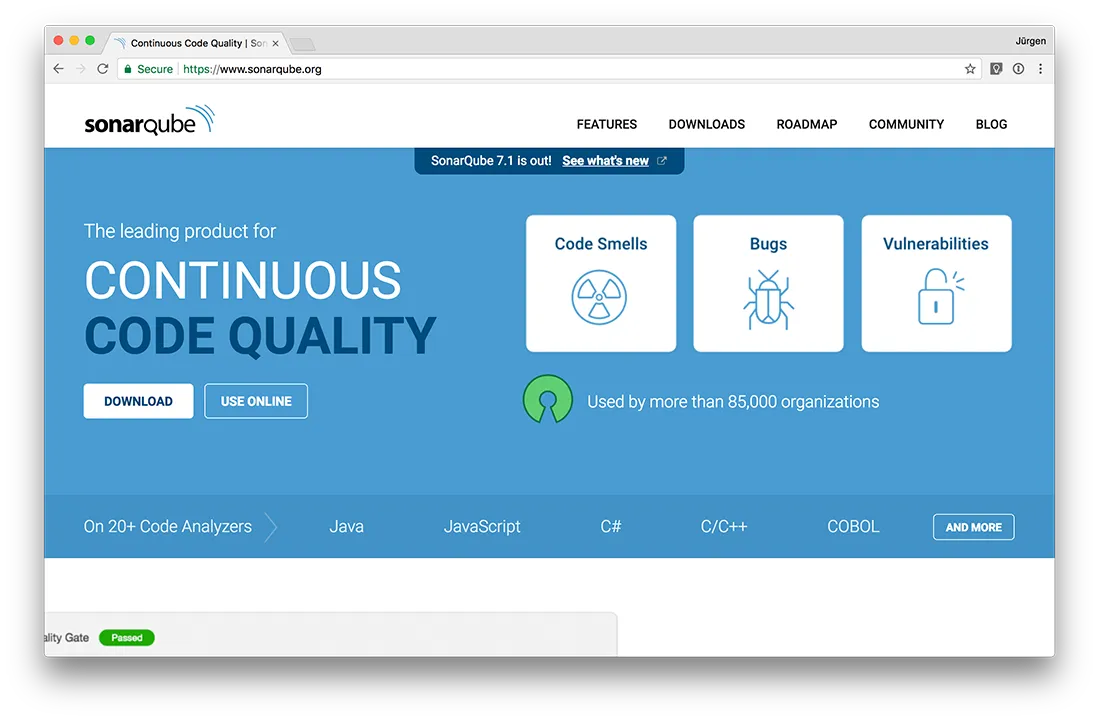
Sonarqube checks your code for health, vulnerabilities and other issues. You can check it out on sonarqube.org.
It doesn't matter what you want to run on Fargate as long as it fits inside a Docker container. In our case, we use Sonarqube. It could be any application you can think of.
Important to remember is, that Fargate does not handle persistence. If your service needs a database, make sure to use a database outside of the container. The same goes for all data that might be written to disk by the service. In the event a restart of the container, the data will be gone.
Sonarqube saves all persisting data into a database. We will use a AWS RDS Postgres database for this. You could of course use a volume to fix this issue as well. We do not use a volume as this makes the example a bit easier.
Our Sonarqube Docker image is super simple. We just extend from the official Docker image and add a little magic.
For us, pre-installing Sonarqube plugins was important. If the Sonarqube users install the plugins through the web dashboard, the plugins will be gone in the event of a re-creating of the container. We need to make sure to have it already baked in. Here is the Dockerfile:
FROM sonarqube:7.0

ENV SONARQUBE_HOME /opt/sonarqube

RUN wget "https://sonarsource.bintray.com/Distribution/sonar-java-plugin/sonar-java-plugin-5.3.0.13828.jar" \
    && wget "https://sonarsource.bintray.com/Distribution/sonar-javascript-plugin/sonar-javascript-plugin-4.1.0.6085.jar" \
    && wget "https://sonarsource.bintray.com/Distribution/sonar-typescript-plugin/sonar-typescript-plugin-1.6.0.2388.jar" \
    && mv *.jar $SONARQUBE_HOME/extensions/plugins \
    && ls -lah $SONARQUBE_HOME/extensions/plugins
Then we build the image from the Dockerfile:
docker build -t jaybrueder/sonarqube:1.0 .
And we can run and test that everything works:
docker run -d --name sonarqube -p 9000:9000 -p 9092:9092 jaybrueder/sonarqube:1.0
If we connect through http://localhost:9000 we should see the dashboard.
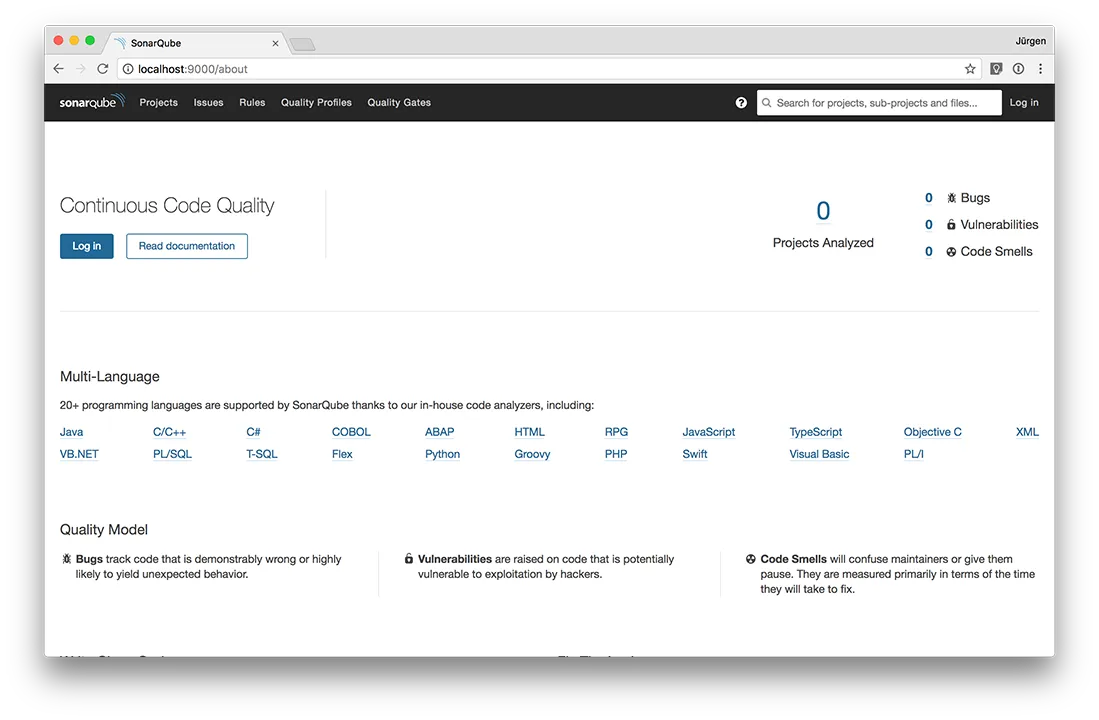
Please note: This step is still using the internal H2 database of Sonarqube. This is not what we want for Fargate.
We will need to push this image directly into the AWS Elastic Container Registry (ECR).
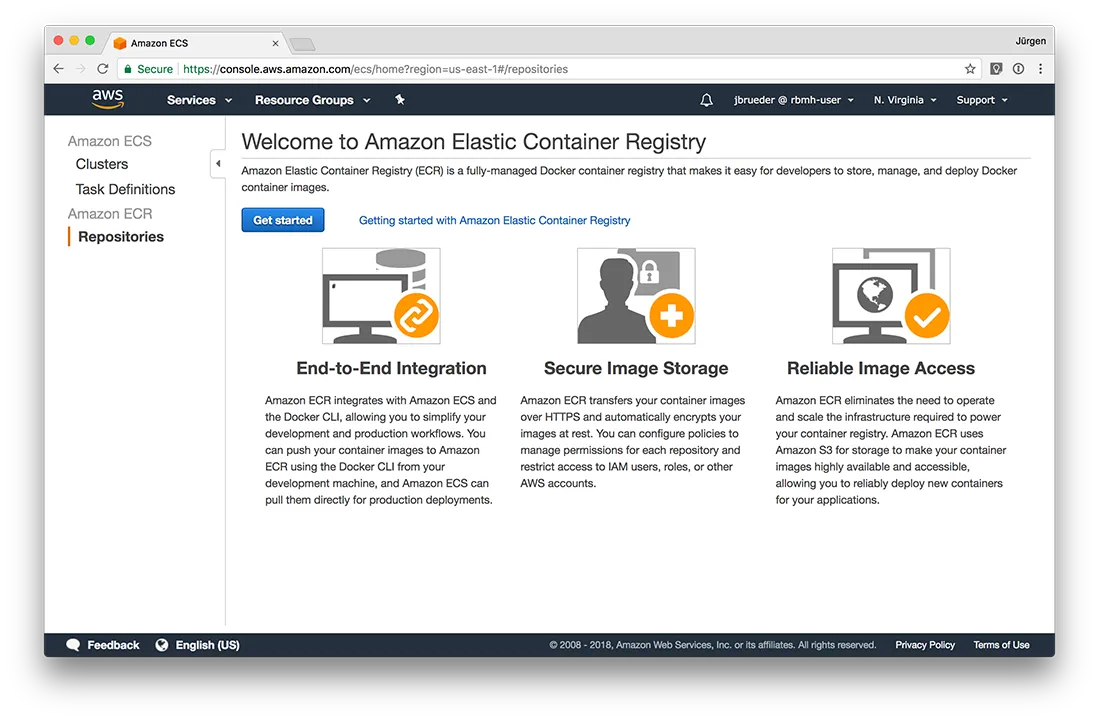
Click "Create repository" and give it a name (e.g. "sonarqube"). You will be presented with commands you need to trigger in your local CLI to push your Docker image. You will need to have the AWC CLI installed for this.
They will look something like this:
source AWS_PROFILE=your_profile

# Get login credentials
aws ecr get-login --no-include-email --region us-east-1

# Run the docker login command returned from the previous step
docker login -u AWS -p <SUPER_LONG_KEY> https://1234567890.dkr.ecr.us-east-1.amazonaws.com

# Tag the image
docker tag sonarqube:1.0 1234567890.dkr.ecr.us-east-1.amazonaws.com/sonarqube:1.0

# And push
docker push 1234567890.dkr.ecr.us-east-1.amazonaws.com/sonarqube:1.0
The image is now available for ECS to use!
Inside the ECS dashboard, click "Create Cluster" and choose the one that says, "Powered by AWS Fargate".
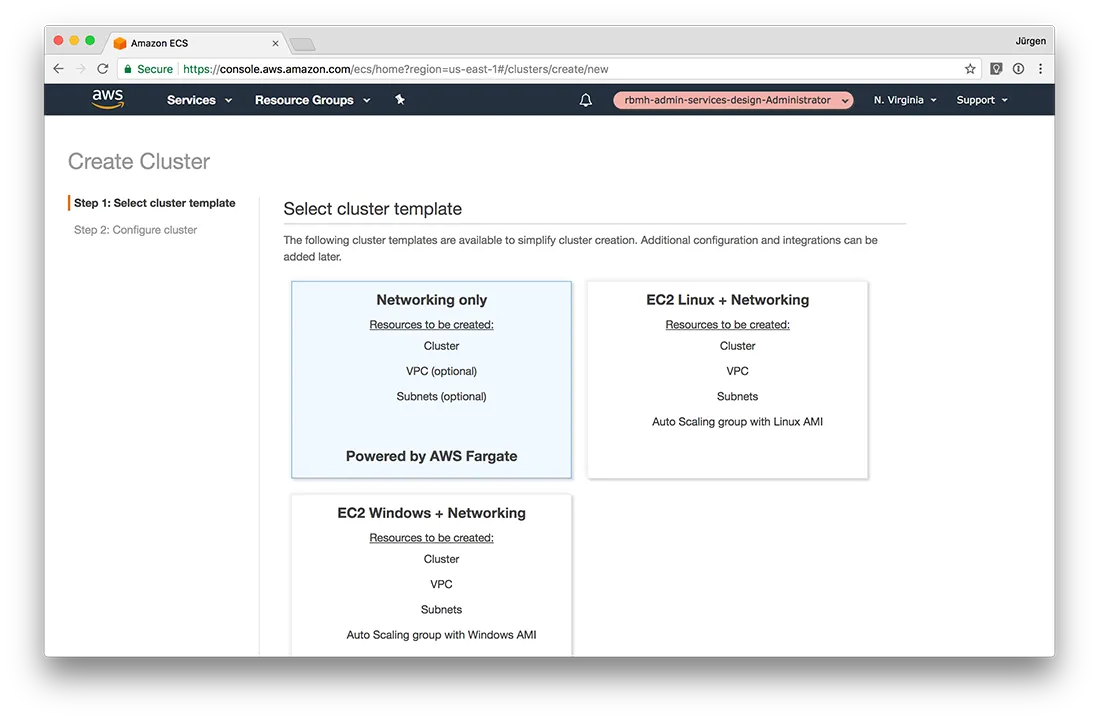
Click next and give it a name. If you want to use a new VPC, check the checkbox. Click "Create".
Your Cluster is done! Easy, right?
After creating the cluster, we also need a "Task Definition". Select "Task Definitions" from the ECS menu and click "Create new Task definition". Select "Fargate" and give it a name.
You can give your task a memory and CPU here. You can select which container image to use and, if needed, you can attach a volume.
This is also the place where we put in any environment variables for our docker image and which ports to expose. For Sonarqube to work properly, we need to expose port 9000 and 9092. For it to use our Amazon RDS PostgreSQL database, we also need to add some environment variables. You can find them here https://hub.docker.com/_/sonarqube/ under "Database Configuration". Also make sure to define an IAM role for this task that allows for access to Amazon RDS.
All there is left to do is to head over to your Fargate cluster and start a new service. Choose your created task definition and make sure to choose your desired VPC and subnet. When you have chosen all desired settings for your service, hit "Create Service".
After the creation for the service, you will receive an internal IP address that you can hook-up to a load balancer to access the Sonarqube dashboard. It’s also possible to make the service public on creation by choosing "enabled" on "Auto-assign public IP".
Run your tests on autopilot with CI/CD pipelines.
Introduction to modern infrastructure provisioning.
This is an introduction to Kubernetes, an open-source system for automating deployment, scaling, and management of containerized applications.
In our previous post about HashiCorp Nomad and Vault: Dynamic Secrets we walked through the full lifecycle of secrets management for a Python Flask application
Over the last two weeks we introduced three mesh VPN solutions one at a time: NetBird, Tailscale, and Headscale. Three posts, three products, one open question:
In Post 2 of this series we introduced Tailscale as the UX gold standard in the mesh VPN segment. With one honest caveat: The control plane is proprietary, runs
Mesh VPNs are replacing the old concentrator model. Anyone stepping into this space cannot avoid one name: Tailscale. The service has been the UX gold standard
Classic SSL VPNs are aging. The last two years have shown multiple critical vulnerabilities in the major concentrator products, while at the same time the
You are interested in our courses or you simply have a question that needs answering? You can contact us at anytime! We will do our best to answer all your questions.
Contact us